
Network client installer

install_openvpn_client_centos7.sh

Designed for CentOS 7 hosts that use username/password OpenVPN client authentication and need a repeatable way to install the package, place client files, attach DNS hooks, and start the systemd service. When the config files are not supplied, it still installs OpenVPN and prepares /etc/openvpn/client/ for you to add them later.
One-liner

curl -fsSL helper.sh/install_openvpn_client_centos7.sh | sudo bash
sudo bash install_openvpn_client_centos7.sh --source-conf ./client.conf --source-login ./login.txt

Requirements

  • CentOS 7
  • root privileges or sudo
  • Optional: client.conf in the current directory
  • Optional: login.txt in the current directory

Best for

  • Bring up an OpenVPN client quickly on a fresh CentOS 7 host
  • Standardize username/password client deployment for legacy server handoff
  • Avoid manual errors when copying config files, DNS hooks, and service commands

Highlights

  • Re-imports the EPEL GPG key before installing OpenVPN
  • Installs epel-release from the EPEL 7 archive when the OpenVPN package is not yet available
  • Never fails when config files are missing: installs OpenVPN, creates /etc/openvpn/client/, and prompts you to drop the files in
  • Picks up client.conf and login.txt from the current directory, or reuses them if already placed in /etc/openvpn/client/
  • Times out yum makecache after 120s and points you to switch-centos7-repo when the EOL CentOS 7 mirrors are offline
  • --no-dns option installs without touching DNS (no helper, no up/down hooks, /etc/resolv.conf left alone)
  • Installs /etc/openvpn/update-resolv-conf and adds up/down hooks automatically
  • Enables and restarts openvpn-client@client automatically

Recommended procedure

  1. Optionally put client.conf and login.txt in the current working directory; if you skip this, the script still installs OpenVPN and prepares /etc/openvpn/client/ for you to add them later.
  2. Run the helper.sh installer with sudo or as root.
  3. Let the script import the EPEL GPG key, install OpenVPN, copy the client files when present, install the DNS helper, and restart the OpenVPN client service.
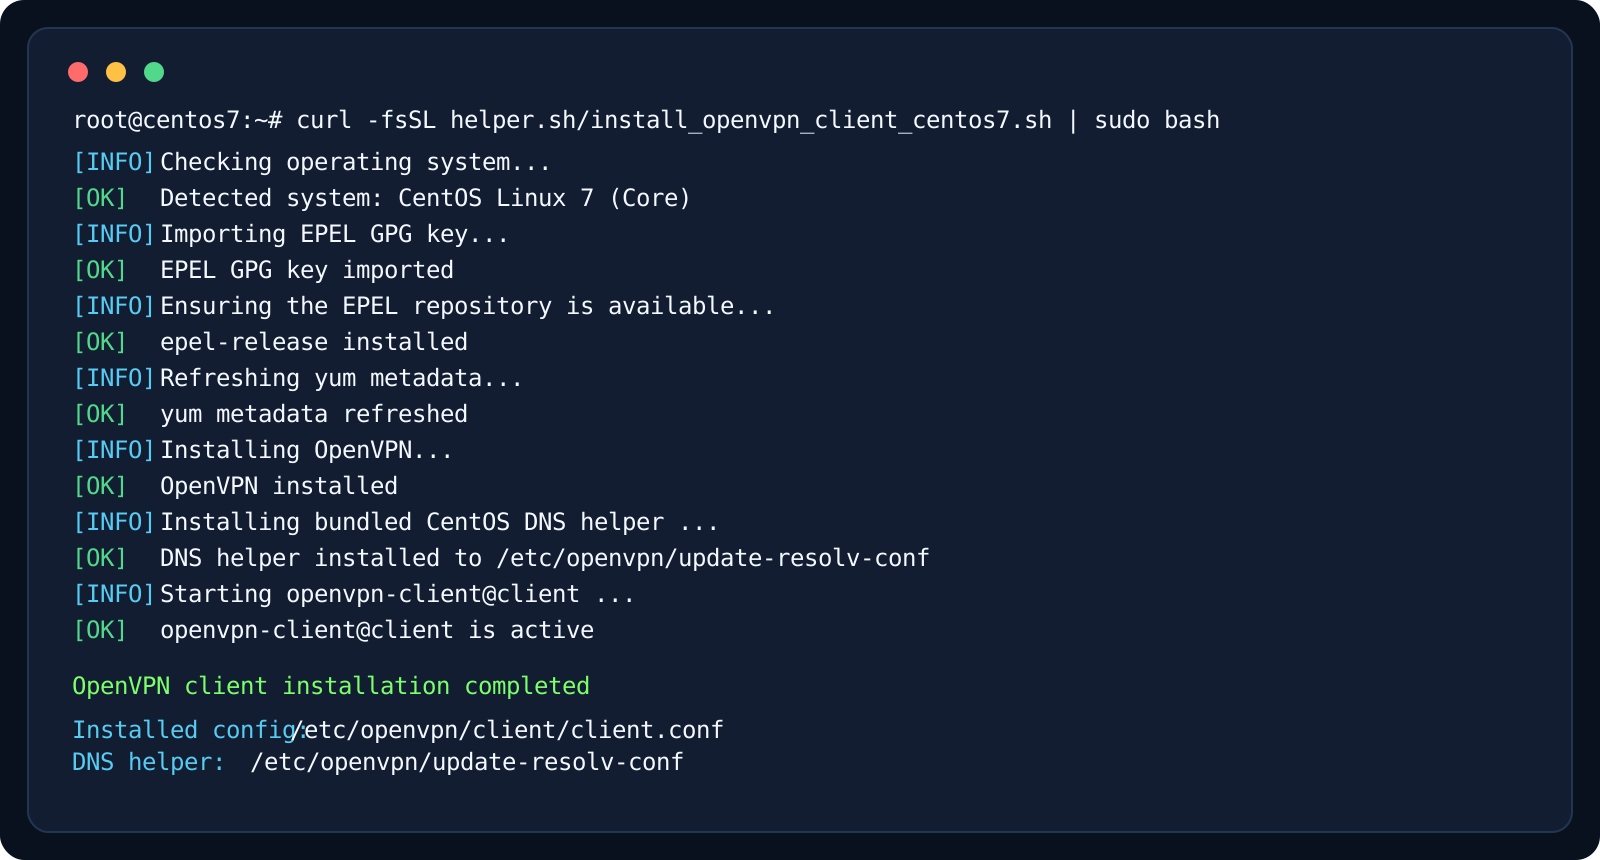
  4. A healthy run should show [OK] epel-release installed, [OK] yum metadata refreshed, [OK] OpenVPN installed, and [OK] openvpn-client@client is active.
  5. Review systemctl status, ip addr show tun0, curl ipinfo.im/ip, and cat /etc/resolv.conf to verify the tunnel and DNS state.

Safety notes

  • Keep login.txt protected with chmod 600 and do not commit it to Git.
  • Review the remote server address, routes, and credentials inside client.conf before copying it onto a production host.
  • If you disable full-tunnel mode with route-nopull, add only the network routes you actually need through the VPN.
  • If the service does not start, inspect journalctl before retrying multiple times.

Example output

Terminal output showing install_openvpn_client_centos7.sh completing successfully and openvpn-client@client becoming active
A corrected CentOS 7 run should show epel-release installation, yum metadata refresh, OpenVPN installation, DNS helper deployment, and an active openvpn-client@client service.

Scenario article

Install an OpenVPN client on CentOS 7 with login.txt auth and DNS helper hooks

A practical guide to using install_openvpn_client_centos7.sh to import the EPEL GPG key, install OpenVPN, place client.conf and login.txt, deploy update-resolv-conf, and enable openvpn-client@client on CentOS 7.

Related topics

OpenVPN client access and DNS handling

Set up OpenVPN client access on Ubuntu and CentOS 7 hosts, keep login files in the expected place, and handle DNS switching safely when private domains depend on the tunnel.

Open topic